


For context on these paintings, please refer to my previous post on the Patrice painting I did in this pair. This will be a faster run-through of the process since a lot of this was covered in the last post.
Step 1: Roughs
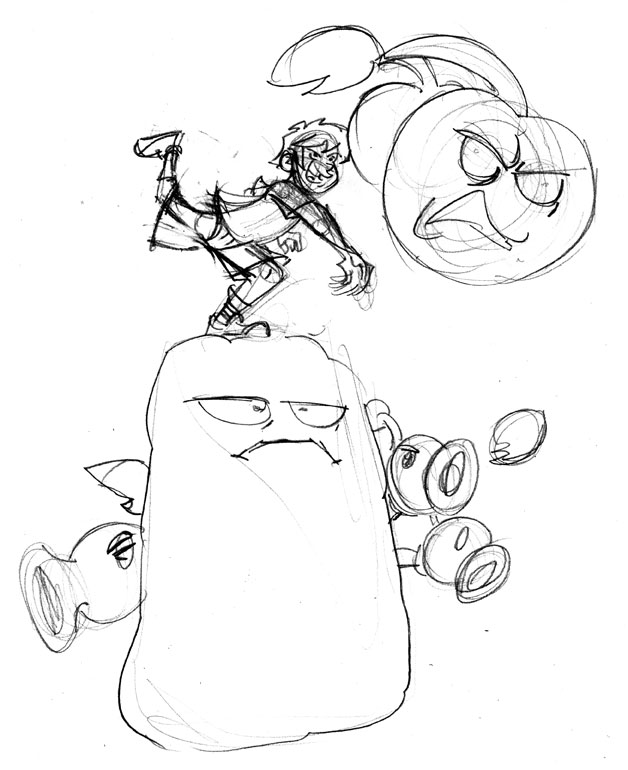
The roughs for this illustration took two passes, but I didn’t scan the first pass because I dropped it early in its development, it was really obvious that first one wasn’t going to work out, but hey, this one did! Something that needed to be worked out in the pencils was that I needed to put space between the cherry bomb and Nate to create a better sense of it being flung.
Step 2: Pencils
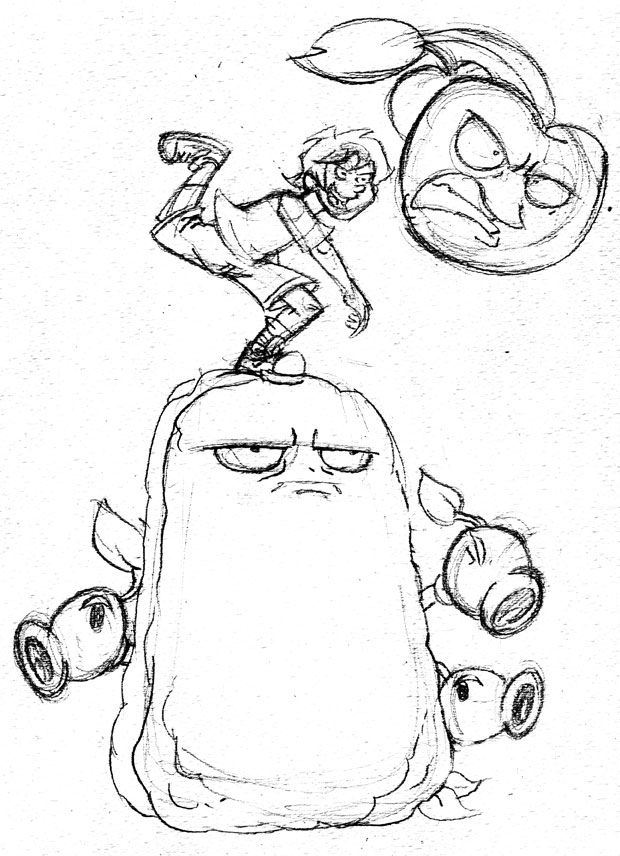
Well, looks like it worked out! The cherry bomb has enough space from Nate’s head. It was not the easiest issue to resolve considering that what you don’t see here is the edge of the paper.
Peashooters were also rearranged in this step to create more rhythm in the illustration.
Step 3: Inks
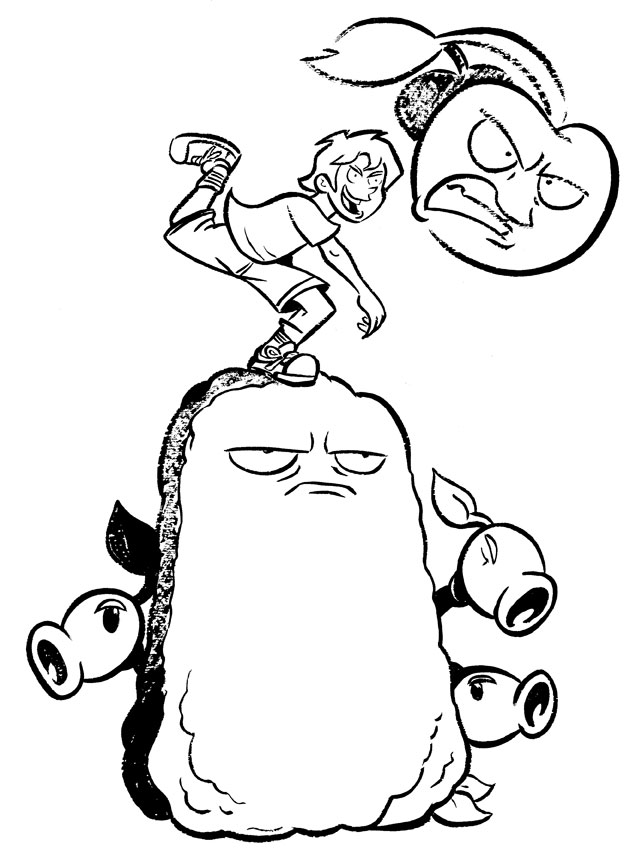
Lots of drybrush for the inks in this picture. I didn’t want to create a solid shadow for the Tallnut, I thought that would make it dominate the picture too much and also make the Tallnut look kind of flat. Also used some drybrush to emulate motion for the flying cherry bomb.
Step 4: Watercolor
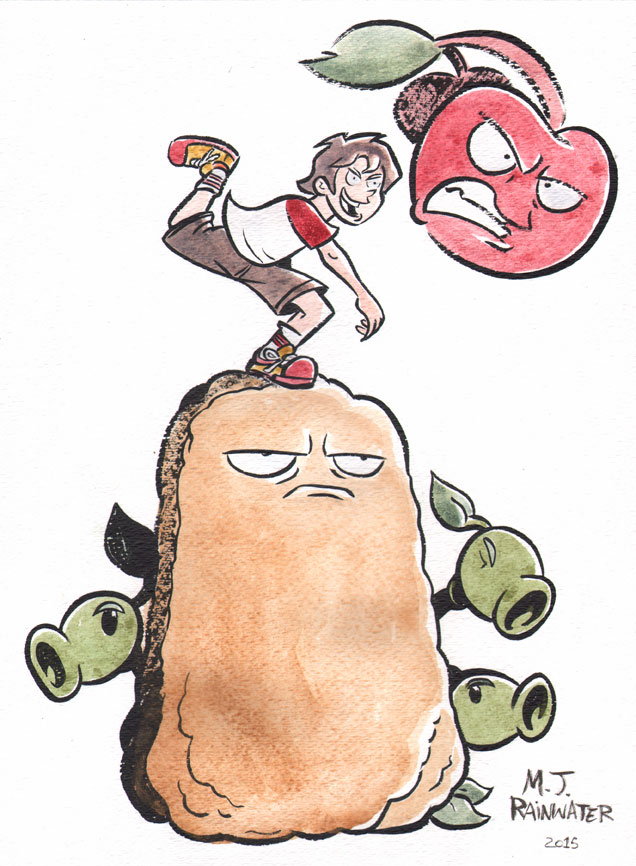
Didn’t have any trouble for the watercolors on this painting. It went really smoothly. I’m really happy with how that cherry bomb turned out, its my favorite part of this painting. There’s just a lot of energy going into it
So there you have it, both paintings and both processes! Now it’s time to color more Plants Vs. Zombies!
